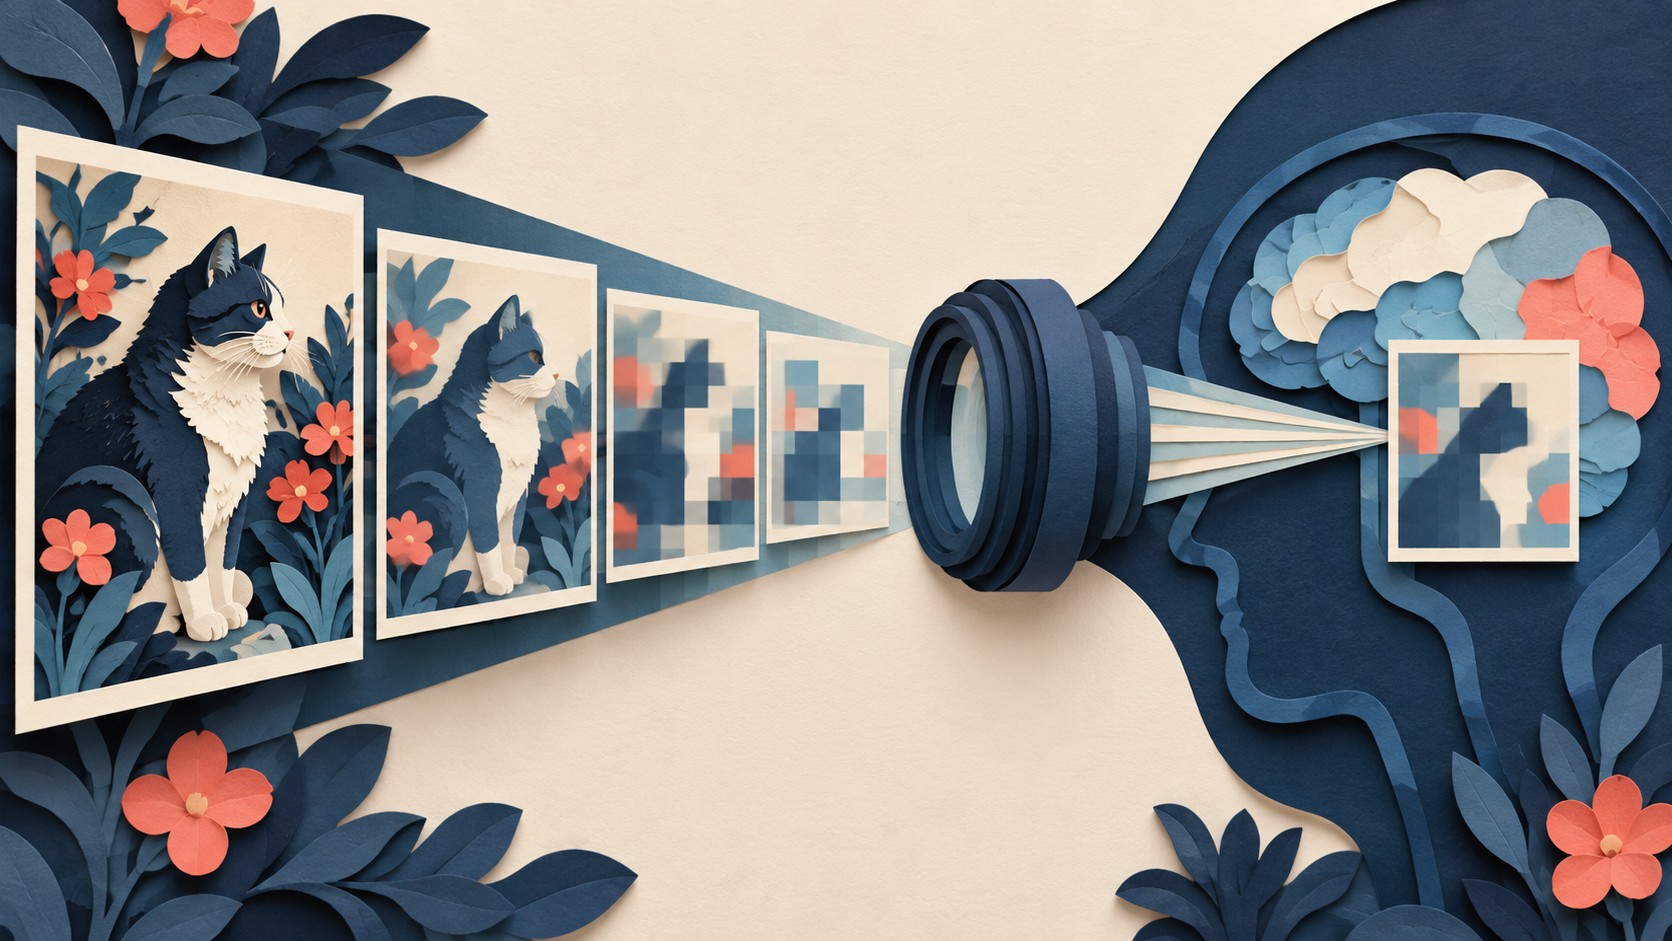
An image can look sharp on your screen and still be resized before a vision model analyzes it. That matters when the answer depends on a small label, a faint mark, or an exact location. The file you send and the image processed by the model can have different dimensions. OpenAI’s vision guide says image preprocessing depends on both the selected model and its detail setting.
Detail controls preprocessing
The detail setting can be low, high, original, or auto, depending on the model. If you leave it out, the Responses API and Chat Completions API use auto. That default does not define one universal image size. The model’s sizing rules determine what auto does. OpenAI’s sizing table is the place to check a specific model.
The guide recommends low for coarse image understanding, high for standard image understanding, and original, when supported, for dense images or tasks that need precise spatial detail. These are useful starting points. Their names alone cannot tell you the dimensions of the processed image. Even original may resize an image to meet a model’s limits. If you need coordinates that refer to your source image, the guide advises resizing it to fit the limits first and mapping returned coordinates back to the source.
The same setting can behave differently
Consider a large square image. The sizing table says some models fit a low input within a 512 × 512 pixel box. Other listed models use different rules for low. For the GPT-5.4 family, low has a larger patch budget than high, so it can even use more image tokens. The label is therefore a poor substitute for checking the model’s documented behavior. The vision guide lists the supported settings and limits for each model family.
auto also varies. In the guide’s table, it follows original sizing for some models and high sizing for others. A change of model can therefore change image processing even when the request still says auto. For a task that depends on fine print or exact positions, make the model and detail choice explicit, then inspect their sizing rules.
A patch budget can shrink the image again
Some models divide an image into 32 × 32 pixel patches for token counting. Their preprocessing first fits the image within a pixel dimension limit. If the resulting image exceeds the setting’s resizing patch budget, it is scaled down again. Aspect ratio is preserved, and smaller images are not enlarged. These steps explain why an image can be reduced even when its width and height appear to fit the first limit. OpenAI documents the patch calculation.
The guide gives a concrete example. With gpt-6-astra at high detail, a 2048 × 2048 image starts at 4096 patches. Its 2500-patch budget reduces the image to 1600 × 1600 pixels. This example establishes the processing dimensions for that model and setting. It does not establish how often the model will miss a particular feature. As an inference from the resize, a feature that occupies very few source pixels deserves special attention when you assess the answer.
A separate input limit can also reject an image. For patch-based inputs, the guide says images exceeding 30,000 patches after the applicable resizing steps are rejected. They are not automatically shrunk to satisfy that rejection limit. The image input calculator shows the processed dimensions, patch count, and estimated input tokens for a chosen model, image size, and supported detail setting.
Small details need a closer view
OpenAI lists small text, rotated images, graphs, spatial localization, and object counting among vision limitations. It recommends enlarging small text and says original can help when available. Its document understanding example points to handwriting, small labels, dense tables, and low contrast scans as cases where raising detail can improve results. It also describes a focused second pass: locate a relevant region, crop it from the source image, and send that crop with a narrower request.
That workflow changes the practical question. A full page may give useful context, while a crop gives a small field more of the available image area. Keep the full image when context matters. Add a crop when the answer rests on a detail that is hard to inspect at the processed size. A higher detail setting improves the available view in some cases, but the guide still warns that vision models can produce incorrect descriptions and captions.
What to do
- Name the visual task. Decide whether you need a broad description, readable small text, or precise locations. OpenAI’s deployment checklist recommends choosing detail for the task and measuring image use with the selected model.
- Check the model’s sizing row. Confirm which detail values it supports. Read what
automeans for that model, and note its dimension and patch limits. - Inspect the likely processed size. Enter representative image dimensions in the image input calculator. Its estimate covers one image and excludes the rest of the prompt and model output.
- Use a closer input for fine detail. Try
originalwhen supported and appropriate. If one region remains critical, crop it from the source and ask a focused question about that crop. - Check the answer against the source. Pay particular attention to small text, counts, and locations. The vision guide identifies each as an area where mistakes can occur.
The Campfire
No commentsNobody has pulled up a log by this one yet. Be the first to say what you make of it.
Held for the desk. It appears after a look.